Asus has started rolling out Android 13 to the Asus Zenfone 9 via OTA. The new Android 13 update for Asus Zenfone 9 brings new notification permission, cross-device copy and paste, increased privacy when it comes to apps’ media access, the new media player with a dancing playback bar and full display album artwork, and the ability to assign different languages to different apps. Download Asus Zenfone 9 Android 13 Firmware Update from below.
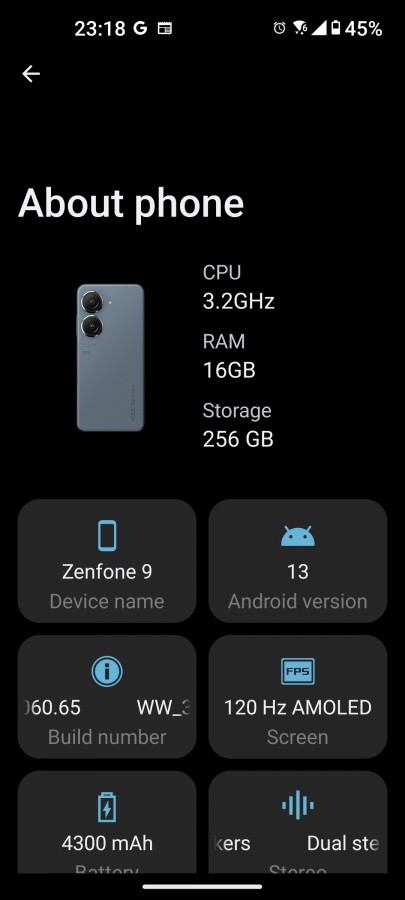
The Asus Zenfone 9 Android 13 update comes with firmware version WW_33.0804.2060.65, and it includes the December 5, 2022, security patch level. The update is rolling out to a limited number of users right now and will have a broader rollout in a few days after making sure there are no critical bugs. If no critical bugs are found, the full rollout will be completed in the upcoming days.

Zenfone 9 Android 13 Changelogs
Asus Zenfone 9 Android 13 Update includes design changes and several improvements. Here are the complete changelogs.
- Upgraded system to Android 13
- Revamped Mobile Manager, Contacts, Phone, Emergency Dialer, File Manager, Calculator, Clock, Gallery, Weather, Sound recorder, Settings, Data Transfer, Local backup, and other Asus apps
- Adjusted Quick Settings panel, notification tray, and volume panel to Android 13 design
- Added the notification permission feature. You can adjust the permission of each apps in the Apps & notifications Settings
- System clipboard added “Auto delete” and editor features
- Added the QR code scanner option for the lock screen shortcut feature, and the “Control from locked device”feature in the Security & lock screen setting
- If Bedtime option is setup in Digital Wellbeing, system color scheme can now be set to automatically switch with bedtime option
- Adjusted the Vibration & haptic strength setting, Display and font size setting, and the width/length of navigation white bar when choosing gesture navigation
- Changed to the Blocked numbers setting in Phone to stock behavior. You will not receive calls or texts from blocked numbers
- Removed the Call duration setting
- Added the Themed icons option in the Wallpaper & style setting Support more color combinations
- Added “link quick share” feature in ASUS Launcher
- Added Asus customization preferences setting. Allows applying the collection of commonly used customization settings with one click
- Removed the ‘Calm’ and ‘Elegant’ options in the Power button menu style setting. Add the display item management option to allow the user to control the number of buttons in the menu
- Adjusted the design of the dialpad and contacts details page in the Phone app to display information more clearly
Note:-
- This method is only for the Asus ZenFone 9 (AI2202) for WW/EU/RU/IN/TW SKUs.
- Follow the steps correctly; otherwise, you may brick your device. We are not responsible for any damage to your phone.
- It may erase your data, so it is advisable to take a complete backup of your phone for the safer side.
- Ensure that your phone is charged at least 50-60% to prevent an accidental shutdown.
Download Asus Zenfone 9 Android 13 Firmware [WW-33.0804.2060.65]
You can manually check Zenfone 9 33.0804.2060.65 OTA by going to Settings > System > System Updates. However, if you don’t want to wait for the OTA, we provide you the Asus Zenfone 9 Android 13 WW-33.0804.2060.65 FOTA, which you can flash on your device.
- Asus Zenfone 9 Android 13 OTA zip – Download
How to Install Android 13 on Asus Zenfone 9
You can manually update Zenfone 9 to Android 13 via Local OTA update or via sideload. You need at least 5GB of storage available on your device before you proceed to install the update package. Check the below steps to Install the Android 13 Update on Zenfone 9.
Method 1: Local Upgrade
- Download the Android 13 OTA zip for Zenfone 9 from above.
- Put the ZIP file in the root directory of the phone’s internal storage.
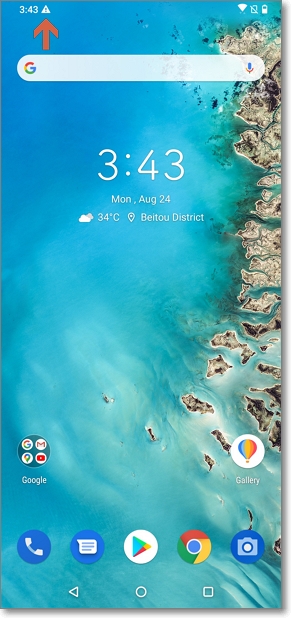
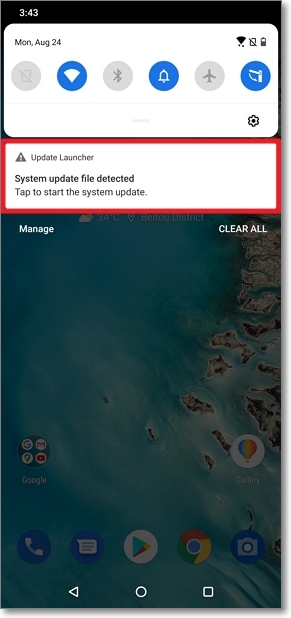
- Reboot your phone and check for the firmware update notification pop-up on the status bar.
- Tap the System update file detected and follow the steps to update the firmware.
- Done!
Method 2: Sideload Method
- First, enable the USB debugging option from the setting ->developer option. To enable Developer Options, go to About phone and tap the Build Number 7 times.
- To use this method, make sure you have ADB and Fastboot installed on your PC. (We have already written a detailed guide to set up ADB and fastboot on Windows and Mac).
- Download Zenfone 9 v33.0804.2060.65 OTA from above Copy ROM to a folder where adb is installed.
- Reboot your Zenfone 9 to Recovery mode using the command adb reboot recovery or the below steps.
- Turn Off your device.
- Press and hold the Vol Up+Power button. Release the power button upon vibration, but keep the volume key pressed until you see the Fastboot mode
- Now use the Volume Down key to highlight the Recovery mode and press the Power button to enter.
- Now, in the recovery menu, select Apply Update from ADB option.
- Now Connect your phone to your Laptop/PC
- On the ROM folder, press shift+right click and click on the open command here.
- Now check your connection status by typing the below command.
adb devices

if your device is listed, you’re ready to flash the ROM - Run the following command to sideload Zenfone 9 Android 13 update.
adb sideload "filename".zip
- This will start the installation process. When the installation is finished, select Reboot system now on your phone to enter the new build.
Install Android 13 on Asus Zenfone 9
As always, the latest Android 13 update for Zenfone 9 is rolling out in a phased manner. Hence, it may take a couple of days before the update reaches all users. However, you can manually update your device anytime with the above-mentioned method. Have any questions? Do let us know that in the comments below.